How to Hike Torres Del Paine
When to Go | Camping & Booking | Buses & Ferries | Itinerary | Gear | Cost
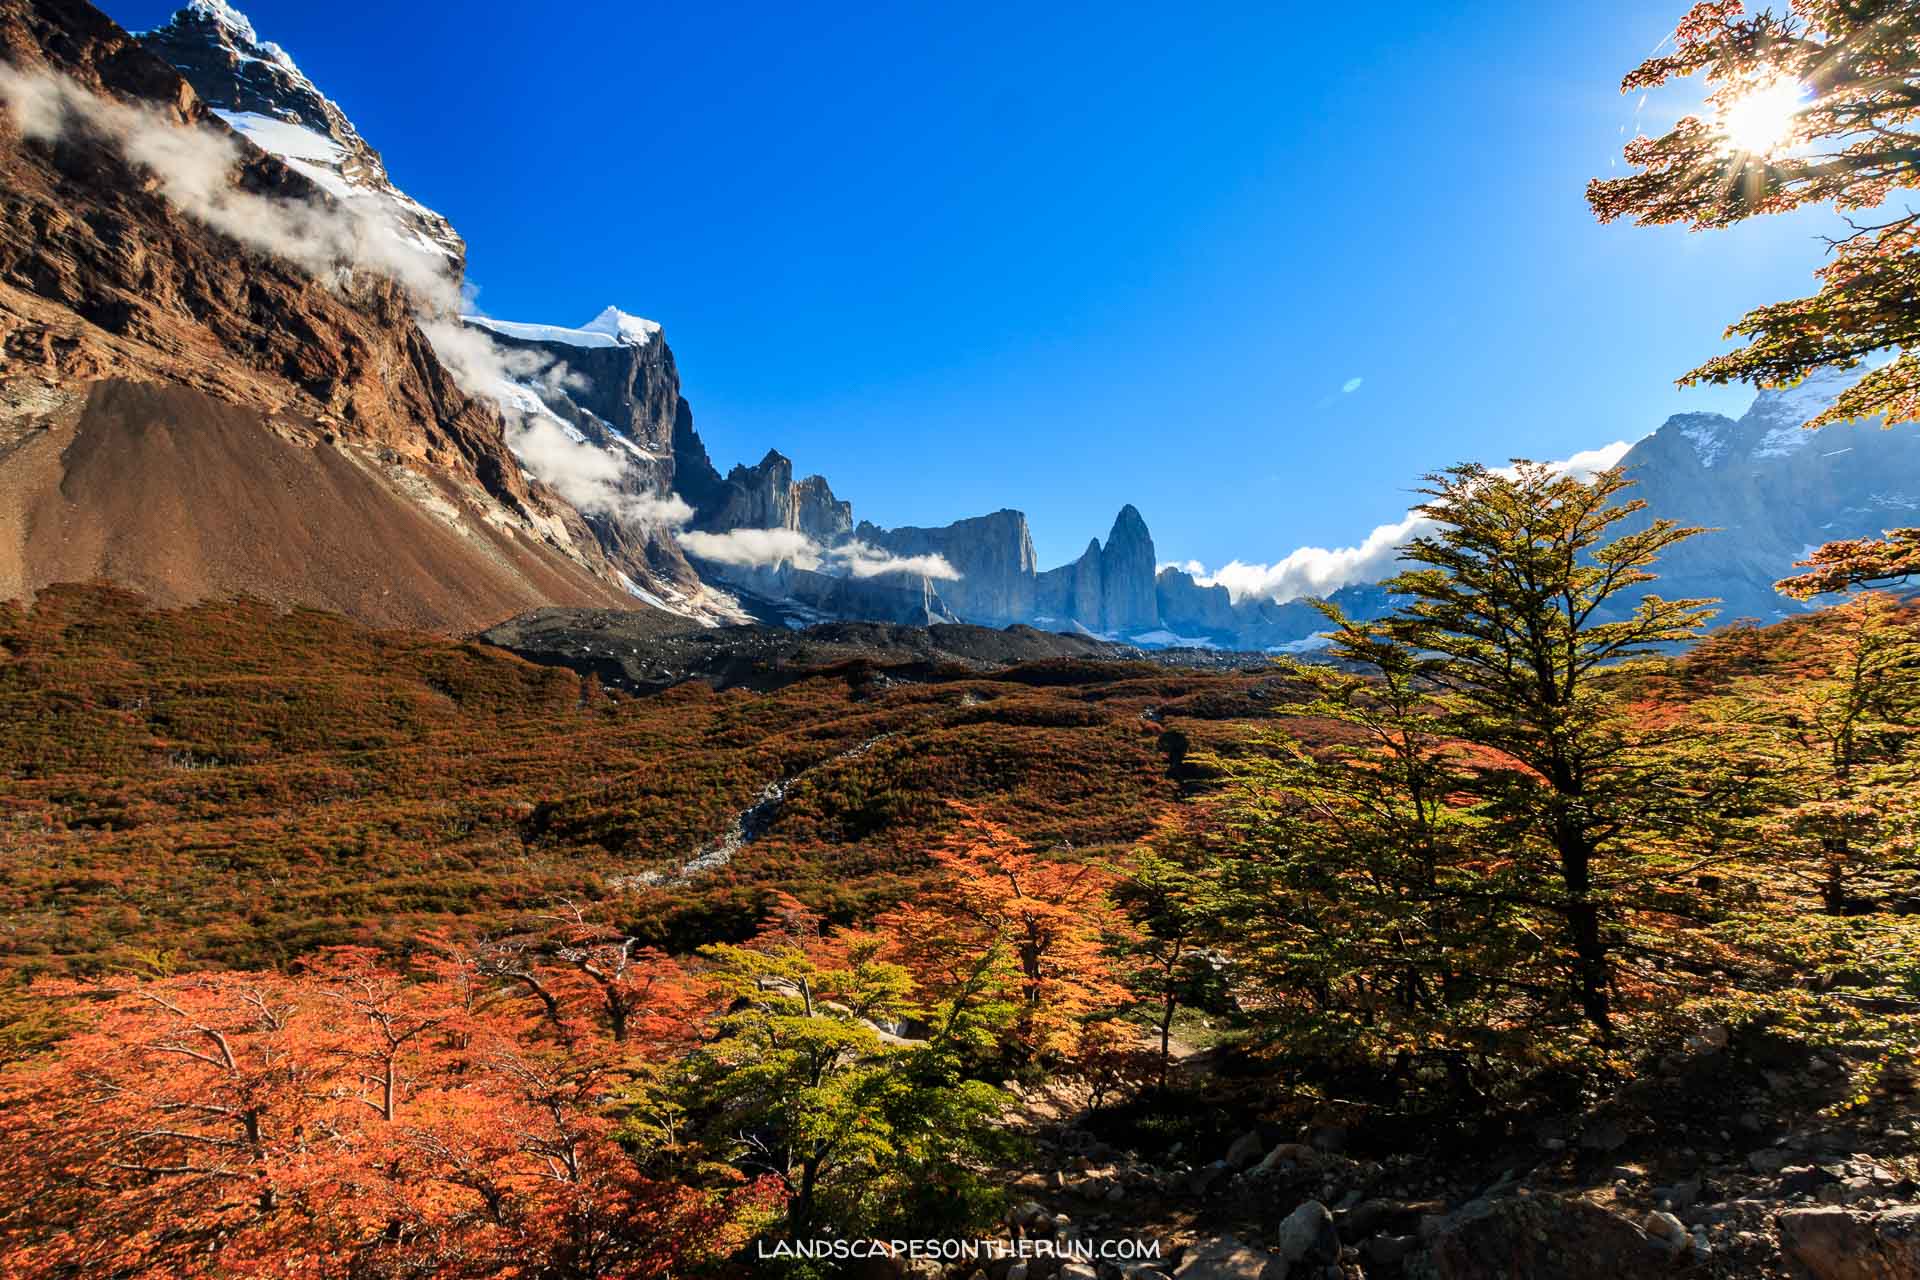
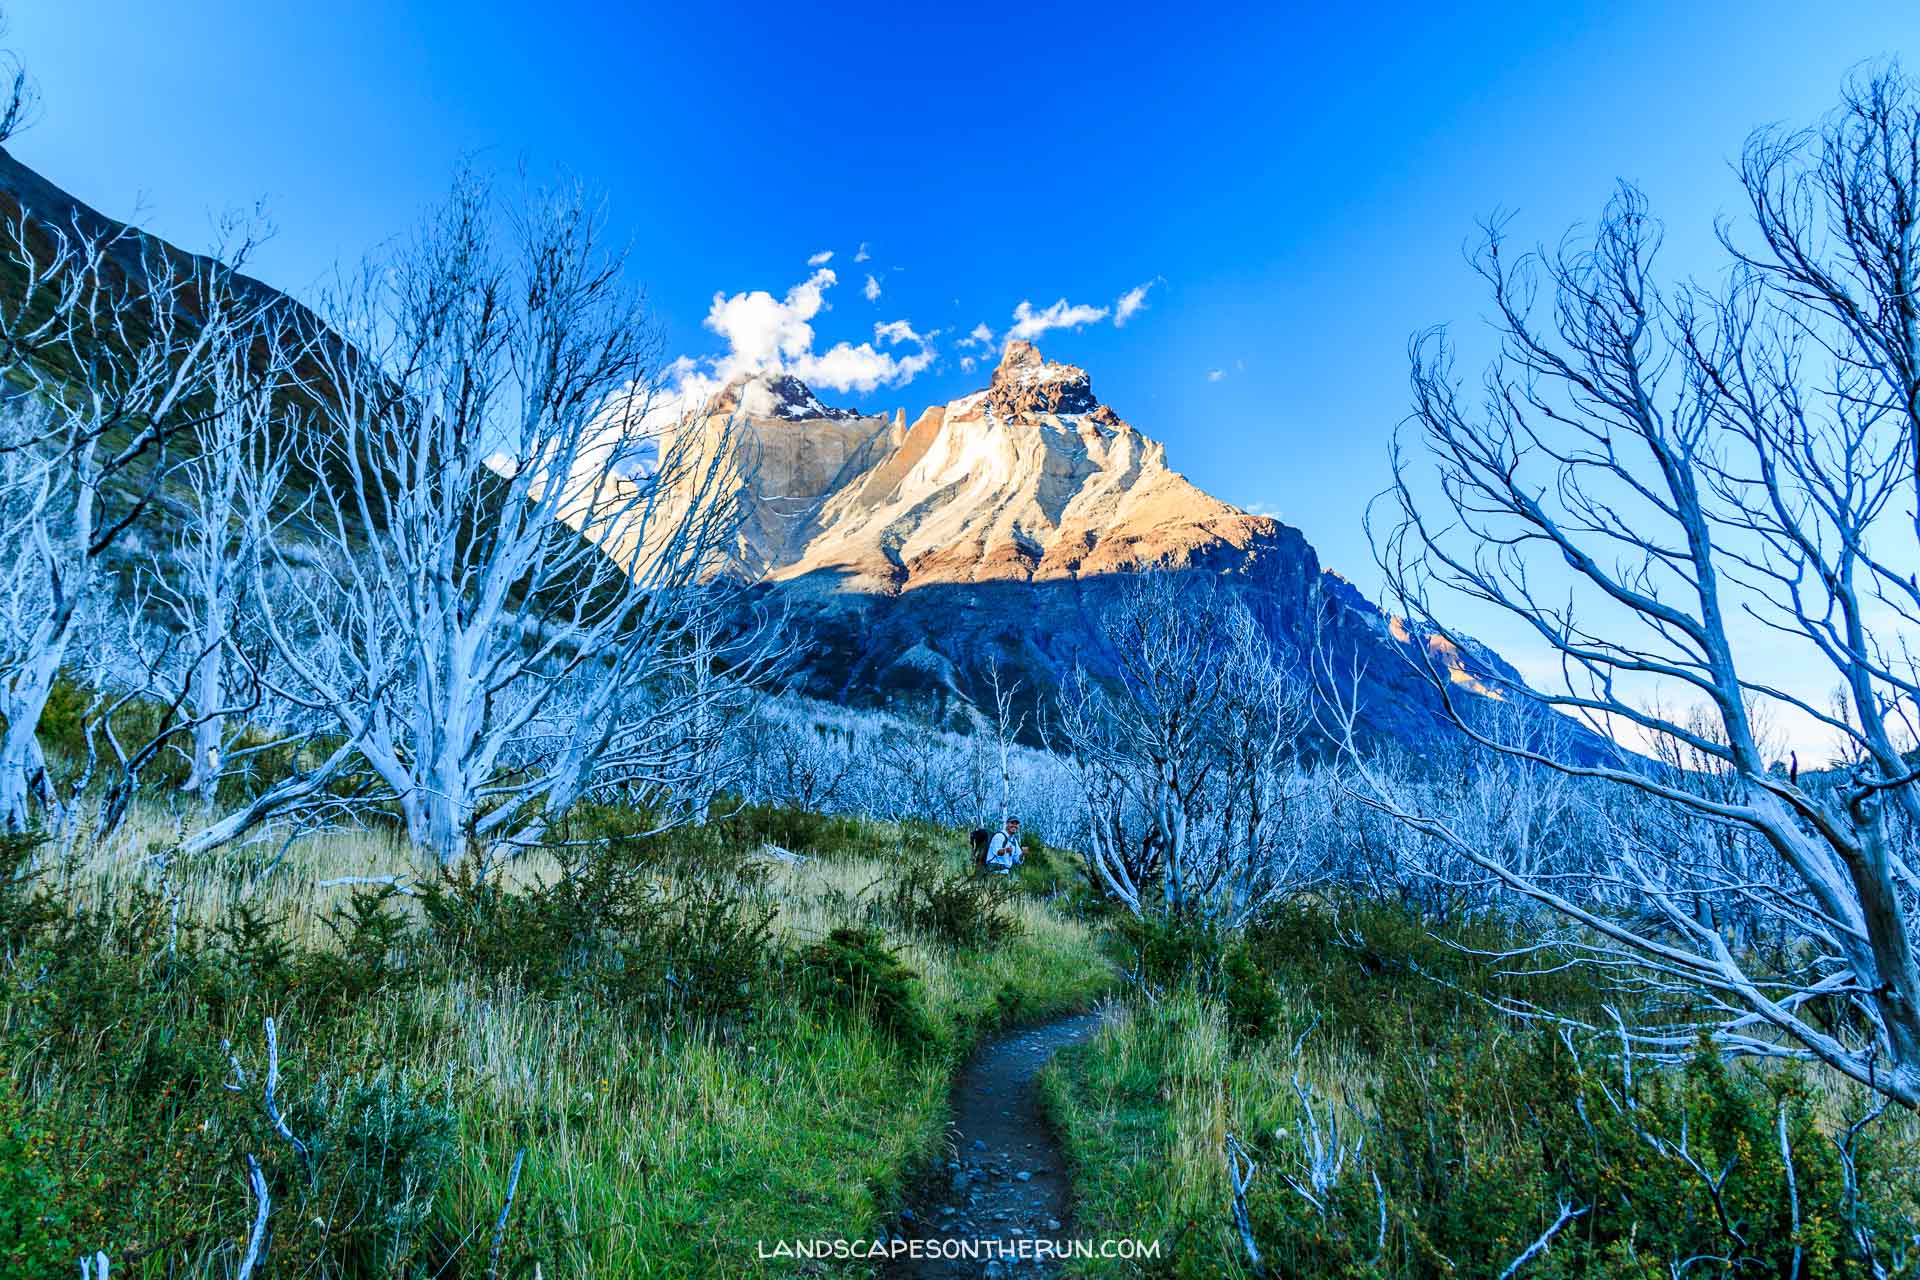
Torres Del Paine National Park, a jaw dropping cluster of craggy peaks, glaciated valleys, mountain streams, and wildlife. To spend even only one night in this park is a dream come true, but of course I would recommend a few more than that!
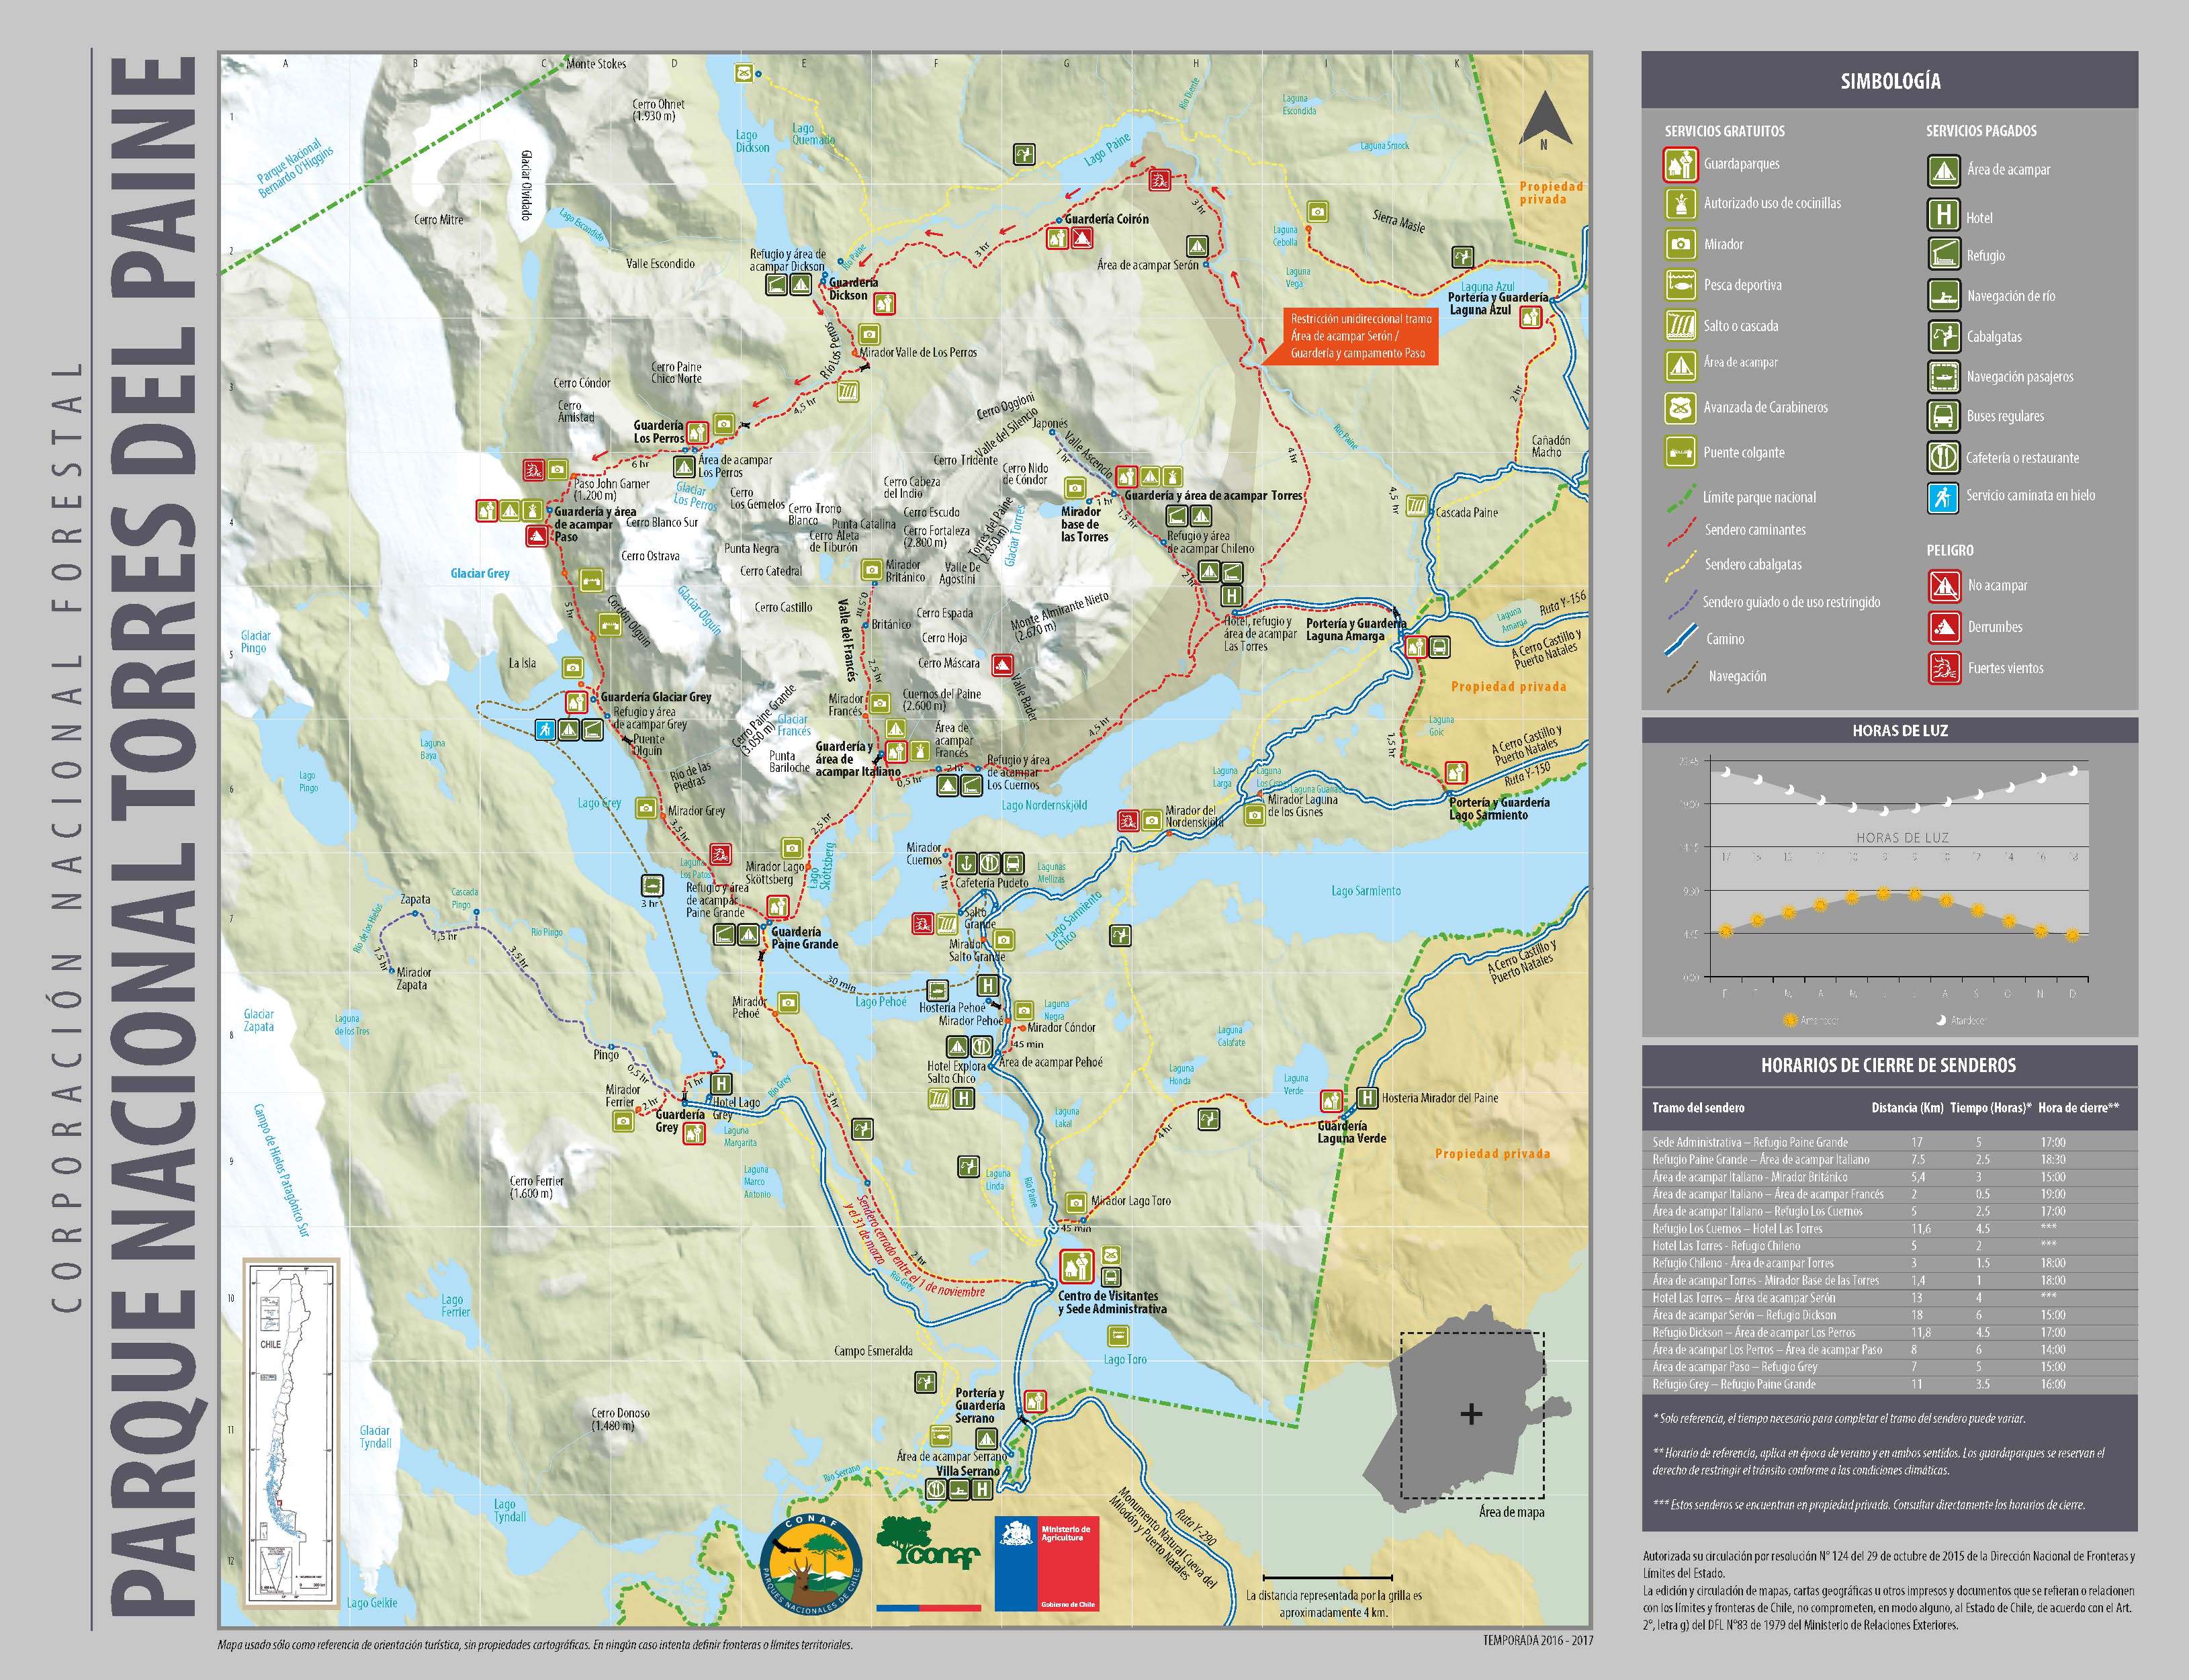
I did the popular “W” trek, named for the shape of the trails going into 3 different valleys forming, you guessed it, a “W.”
This is a guide to help you plan your Torres Del Paine “W” trek adventure!
When you arrive in Puerto Natales: I highly recommend going to the Base Camp Pub’s information session held every day at 3:00 pm. They go over all of the information about where to camp, how to pack, and much more. They’re associated with the Erratic Rock Hostel. I’m going to mention them a couple of times in this article. They have quality gear, great information about the park, and Erratic Rock is one of my favorite hostels in which I’ve stayed during my 3 months in South America.
When to Go
The official “high season” runs from October 1 through April 30, the peak of that in January and February. This time has longer days, higher temperatures, and as a result more people. Park traffic has grown considerably over the last few years. My recommendation is to go at the end of March or beginning of April. Check out 5 reasons why hiking Torres Del Paine in Autumn is awesome.
Booking
You need to book your camping in advance to make sure you have a spot to camp. CONAF won’t let you into the park overnight without a reservation. For you last-minute planners like me, this isn’t always fun, but it’s not that bad, I promise.
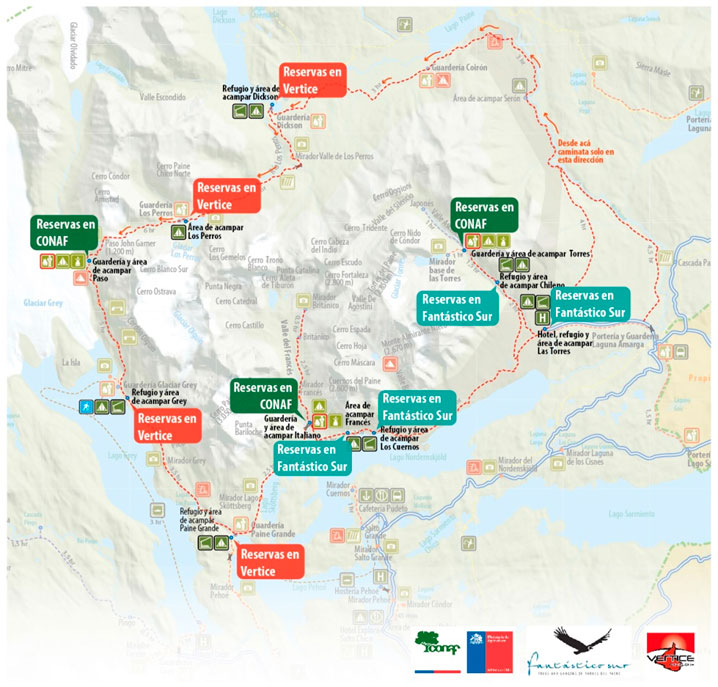
Here are the campsites listed by company, and a map below that shows each camp and who owns it:
Fantastico Sur: (Book Here. Camping Costs are about $15 USD as of Spring 2017. All Prices)
El Frances
Los Cuernos**
Chileno**
Las Torres
Seron (Camping for the “O”)
**note: Fantastico Sur and Chileno camp sites include full board (breakfast, dinner and a boxed lunch), meaning you can’t camp without having food included. It’s a little odd, basically forcing you to buy their food. It can be a nice way to save weight carrying food, but it’s not a great policy for budget hikers.
Vertice Patagonia: (Book Here. Camping ranges from $8-$10 USD as of Spring 2017. All Prices)
Paine Grande
Dickson (Camping for “O”)
Los Perros (Camping for “O”)
Getting in and out
Torres Del Paine National Park is about 40 miles north of Puerto Natales, the “hub” for most activity going in and out of the park. Buses run twice daily and coordinate exactly with the ferry schedule, which many people use to start their hike
Puerto Natales to Torres Del Paine:
| Departure from Puerto Natales | 7:30 am | 2:30 pm |
| Stop in Laguna Amarga | 9:45 am | 4:45 pm |
| Stop in Pudeto (Catamaran) | 10:30 am | 5:15 pm |
| Arrival to Administration (Conaf) | 11:45 am | 6:00 pm |
Torres Del Paine to Puerto Natales:
| Departure from Administration (Conaf) | 1:00 pm | 6:00 pm |
| Stop in Pudeto (Catamaran) | 1:30 pm | 7:00 pm |
| Stop in Laguna Amarga | 2:30 pm | 7:45 pm |
| Arrival to Puerto Natales | 5:00 pm | 10:00 p.m. |
| From Pudeto | From Paine Grande |
|---|---|
| 9:00 am | 9:35 am |
| 11:00 am | 11:35 am |
| 2:00 pm | 2:35 pm |
| 4:15 pm | 5:00 pm |
| 6:00 pm | 6:35 pm |
Itinerary
Ok, so all this information about campsites and ferries and buses, yada yada yada, really depends on how you’re going to hike it. At the same time, campsite availability might affect how you are going to hike the “W.”
Here’s the thing: There’s no wrong way to hike the W. It’s all awesome no matter what direction you go.
Here’s what I did:
Day 1: Enter park & camp at Campamento Italiano:
Take the 7:30 am bus from Puerto Natales to the park. Take the 11:00 am ferry from Pudeto to Paine Grande. Leave your big ol’ backpack at the Paine Grande refugio (they can store it for you for $5,000 CLP, or you can leave it outside the refugio at your own risk. I did the latter, and it was fine.) Take some snacks and water and hike to the Mirador for Glacier Gray. Come back to Paine Grande, grab your pack, and head to Campamento Italiano (CONAF).
Day 2: Easy Day. Campamento Italiano to Campamento Frances via the French Valley:
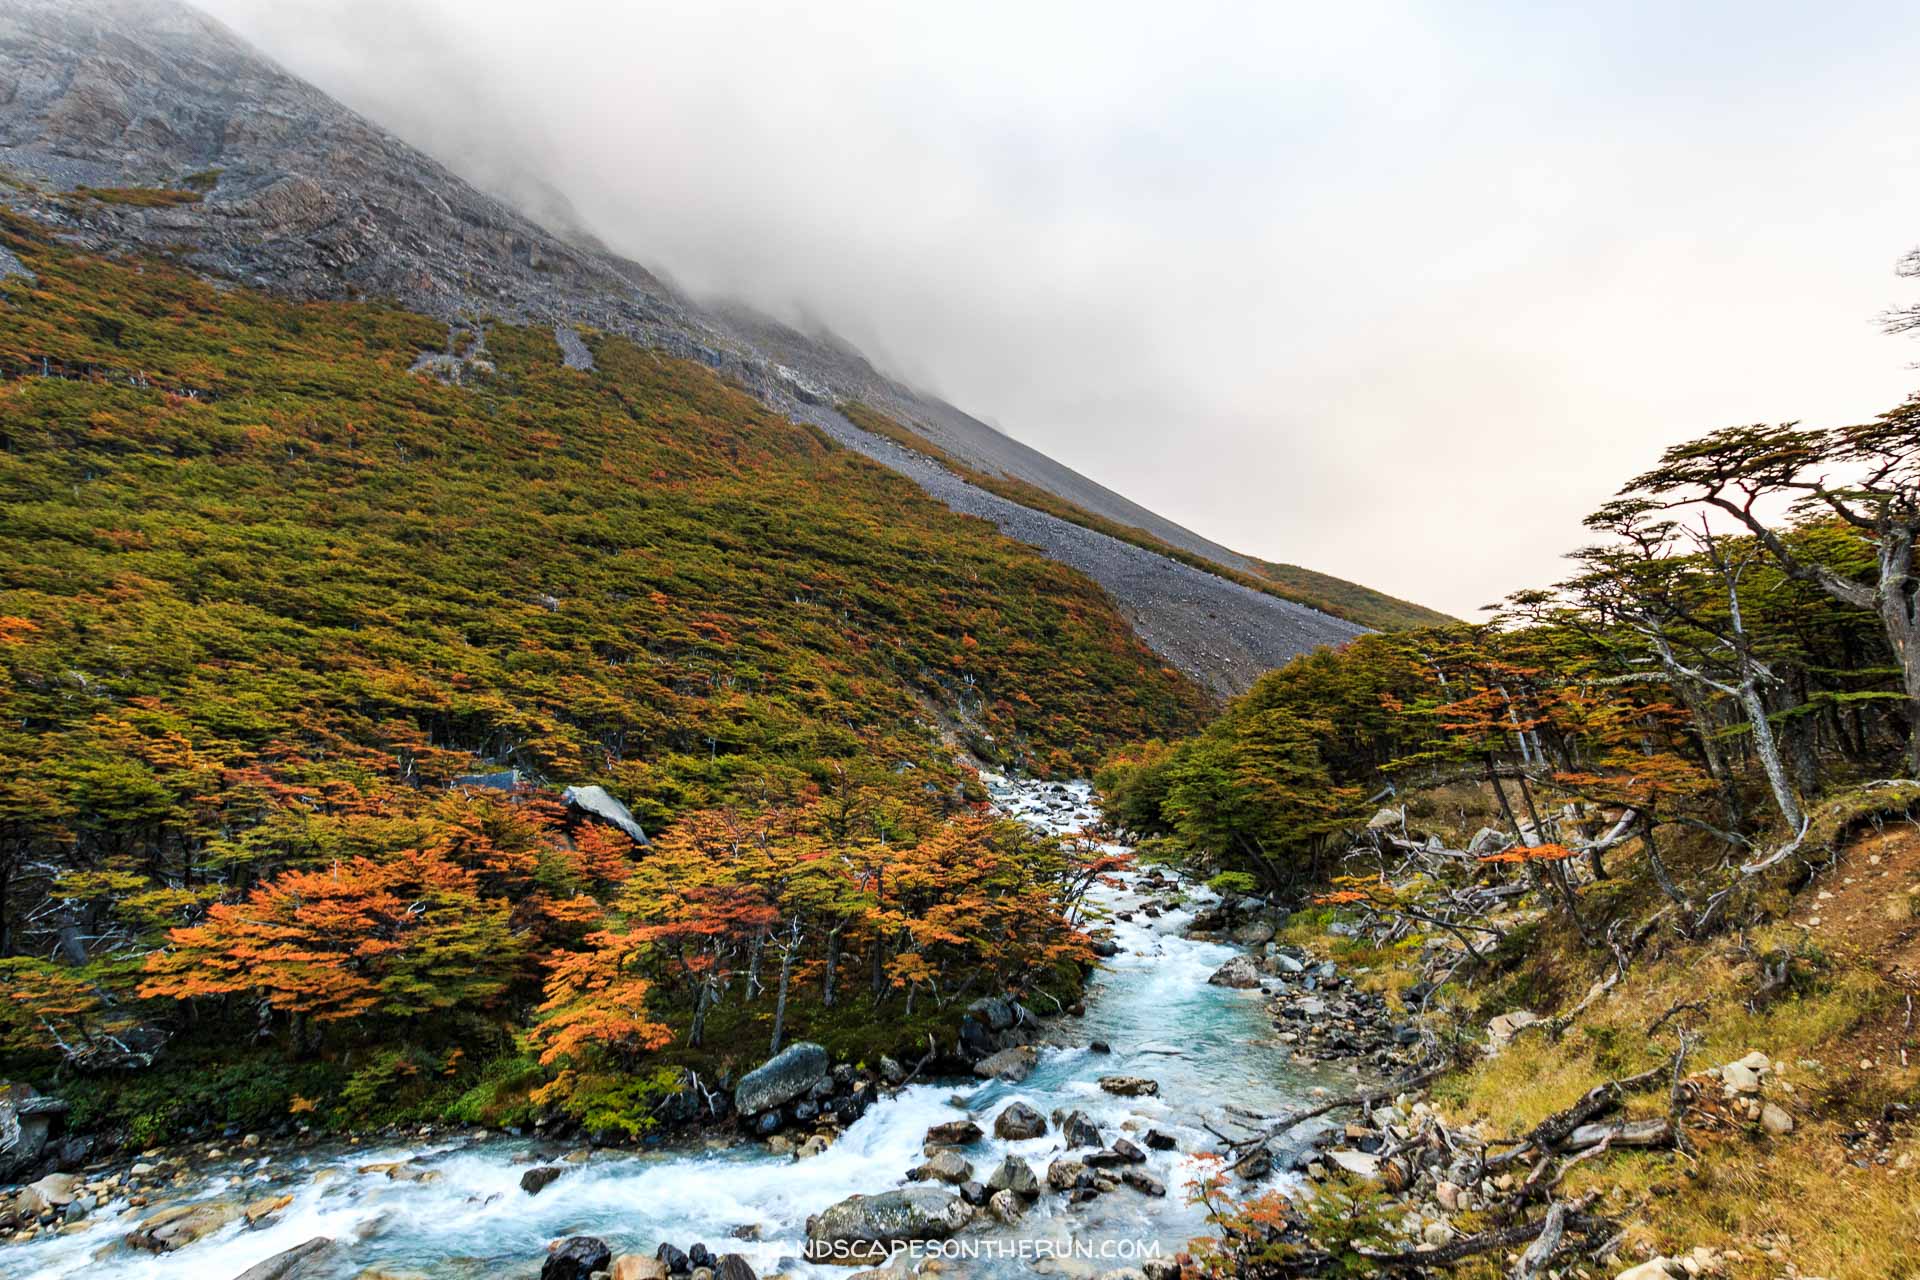
Have an early breakfast at Campamento Italiano, pack a day pack, and head up to Valle Frances (the French Valley) to Mirador Britanico.
Give yourself a lot of time to experience the French Valley. There are a ton of miradors along the way, and sometimes it takes a while for the clouds to clear from the valley in the morning. I sat up there taking photos and timelapses for 4 hours. When I arrived at about 10:00 am, my head was in the clouds. At about noon, the clouds parted and all of a sudden I had no idea which way to point my camera. It was all breathtaking.
After you’ve had your mind blown by the French Valley, head back to Campamento Italiano, grab your pack and hike 30 minutes to Campamento Frances.
[vrview img=”https://landscapesontherun.com/wp-content/uploads/2017/05/PANO_20170330_123300.jpg” width=”100%” ]
Day 3: Long Day. Campamento Frances to Campamento Torres:
Give yourself an early start to the day, as this will be the longest and include the most elevation gain with a full pack. You’ll traverse between the mountains and Lago Nordernskjold and then head up into the valley where the Torres Del Paine themselves are.
Drop your bag and set up your tent, but don’t sit down just yet! Keep your shoes on and if it’s clear, make the 45-minute hike up to the Mirador Las Torres. There’s always the chance that it could be foggy/cloudy the next morning for sunrise, so if you have clear weather, go for it! It’s not like seeing the towers twice is a bad thing, right?
Day 4: Sunrise at the Torres, hike out and return to Puerto Natales. Campamento Torres to Hotel Las Torres.
Nice and toasty front row seat for sunrise
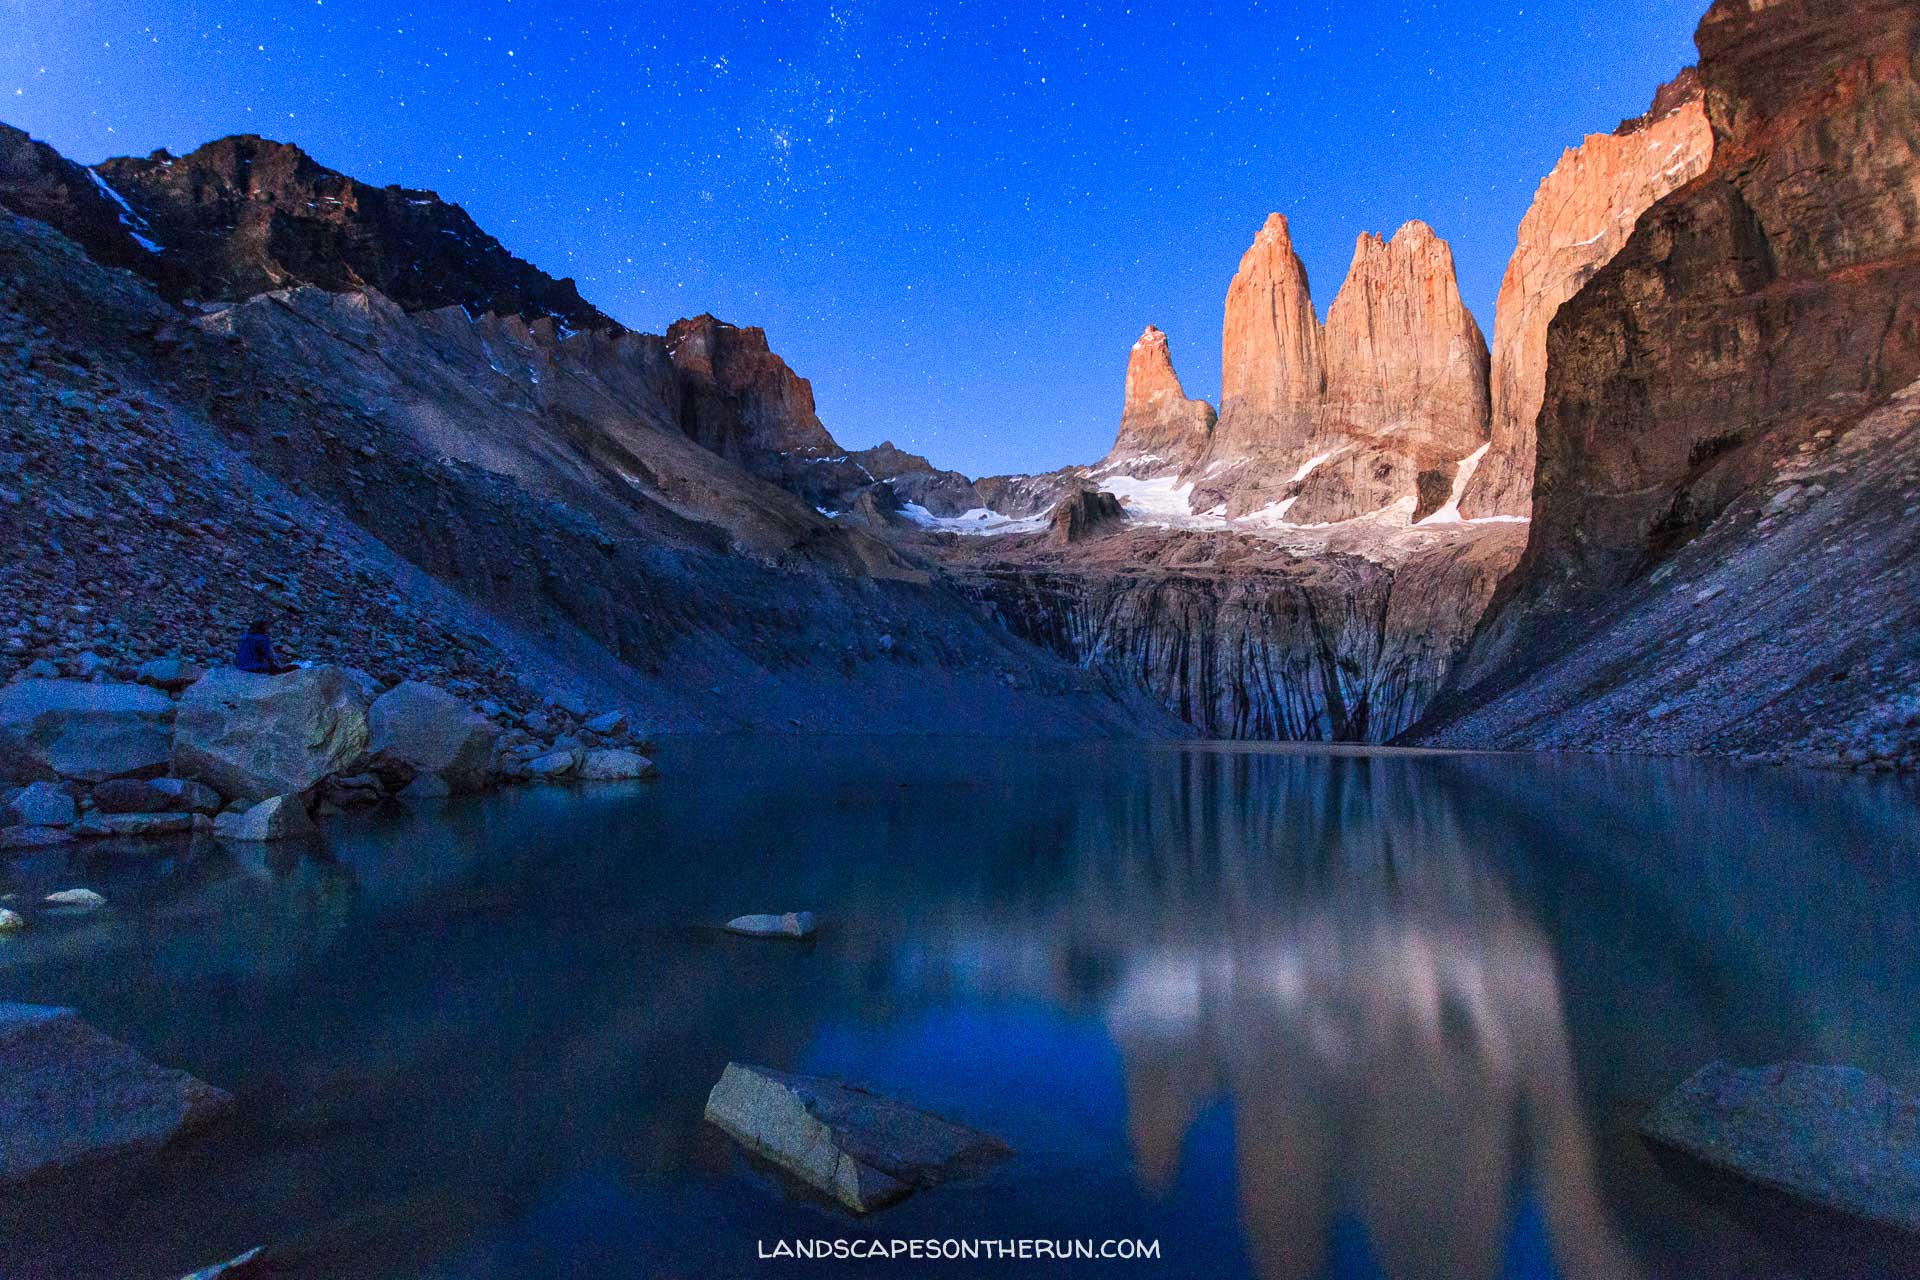
Pay attention to what time sunrise is. On the morning of April 1, I got up to the towers by about 7:00 am and there were still stars out. If it’s a clear night/morning, I would highly recommend getting up rrrreeeeaallly early and hiking up to see the stars above the towers, especially if you’re into night sky photography.
Pro tip: bring your sleeping bag and pad. It’s going to be chilly up there, and you want to sit and watch the sunrise comfortably. So, bring your sleeping gear and some food and make everyone else jealous of how toasty you are.
After sunrise, it’s time to head down, pack up, and make the trek down to Hotel Las Torres and out to catch the 1:00 pm bus back to Puerto Natales. I recommend the first bus so that you can get back, return any gear you might have rented, take a shower and have a celebratory dinner and beer. I recommend Base Camp Pub next to the Erratic Rock Hostel. Inexpensive and delicious pizza and beer.
Gear
For suggestions on how to pack for backpacking in general, REI has great resources for activity-specific gear checklists. Here are some tips specific to gear in the park:
Don’t use rain covers. It can be really, really windy in the park, and pack covers make great kites. They also make a really annoying sound as they flap in the wind. Put your stuff in plastic bags inside your backpack, or line your pack with 1-2 garbage bags.
Bring some extra rope or paracord to hang your food and any other smelly stuff (lotion, sunscreen, toothpaste, etc). Mice have been known to nibble at bags and tents, so all you need to do is hang your stuff a foot or so off the ground on a nearby tree.
Got a hammock? Bring it with you. You never know when you might want to string it up and chill out after a day on the trail.
Gear Rental:
There are tons of places to rent gear in Puerto Natales. I had time to shop around for the best price/quality. I ended up going to Carfran Patagonia for my tent, sleeping bag, pad, stove, and mess kit. For my backpack, I went to Base Camp Pub (attached to erratic rock). Base Camp has really high-quality gear, but their stuff was just slightly more expensive.
Costs
As of 2017, here’s a roundup of the major expenditures, including gear rental costs. Food not included.
- Campo Frances (one night): 6,000 CLP
- Roundtrip Bus To/From Torres Del Paine: 14,000 CLP
- Catamaran Ferry (one way): 18,000 CLP
- Park Entrance (non-Chileans): 21,000 CLP
- Total: 59,000 CLP
Rental Gear Costs
- Backpack: 4,000 CLP/day
- 1-Person Tent: 3,000 CLP/day
- Sleeping Bag: 3,000 CLP/day
- Camp Stove: 1,500 CLP/day
- Sleeping Pad: 1,000 CLP/Day
- Mess Kit: 1,000 CLP/day
- Total: 13,500 CLP/day
Have you hiked in Torres Del Paine? Comment below to give your own thoughts and feedback!


Thanks for reading
Enjoyed it? Share with your friends!